1Panel is a modern, open-source Linux server operation and maintenance management panel, featuring core functions such as application management, website deployment, database visualization, and system monitoring. It can significantly lower the operation and maintenance threshold for Velidc servers. This document details the complete process of installing and configuring 1Panel on Velidc servers, compatible with mainstream Linux system environments of Velidc, catering to both novice usability and enterprise-level optimization needs.
I. Pre-Installation Preparation
1.1 Environment Requirements (Adapted for Velidc Servers)
-
Operating System: Supports mainstream Linux distributions for Velidc servers (based on Debian, RedHat series, including domestic operating systems), compatible with common Velidc server architectures such as x86_64 and aarch64.
-
Hardware Configuration: It is recommended that the Velidc server has available memory ≥ 1GB and remaining hard disk space ≥ 10GB (for panel and application storage).
-
Network Conditions: For online installation, ensure the Velidc server can access the public network; for intranet environments, offline installation packages can be used.
-
Permission Requirements: Log in to the Velidc server as the root user or an account with sudo privileges (to avoid insufficient permissions during installation).
-
Port Preparation: Plan the 1Panel access port in advance (default 9999, customizable), and open the corresponding port in the Velidc server's security group to prevent access blockages.
1.2 Preliminary Operations
After logging in to the Velidc server, first execute the following commands to update system dependencies, clean up residual processes, and ensure a clean installation environment:
# Debian/Ubuntu Series (Common for Velidc Servers) apt update && apt upgrade -y && apt clean # RedHat/CentOS Series yum update -y && yum clean all # Disable unnecessary firewalls (can be configured in 1Panel later) systemctl stop firewalld && systemctl disable firewalld ufw disable # Applicable for Ubuntu
II. 1Panel Installation Process on Velidc Servers
1Panel provides two installation methods: one-click online installation and offline installation. The following details the operation steps adapted for Velidc servers, with one-click online installation recommended (simple and efficient).
2.1 One-Click Online Installation (Recommended)
Install via the official optimized 1Panel script, which automatically adapts to the Velidc server's system environment and includes Docker dependency installation (a core component for 1Panel operation):
-
Execute the installation script:
# Official default script (globally applicable, recommended for Velidc overseas nodes)bash -c "$(curl -sSL https://resource.fit2cloud.com/1panel/package/v2/quick_start.sh)"# Domestic optimized script (recommended for Velidc domestic nodes for accelerated download)curl -sSL https://resource.fit2cloud.com/1panel/package/quick_start.sh -o quick_start.sh && sh quick_start.sh -
Configuration during installation:
-
After the script runs, set the 1Panel access port as prompted (default 9999, customization is recommended to avoid conflicts).
-
Set an administrator account and password (keep this in mind for subsequent panel login).
-
Select the installation path (default /opt/1panel, press Enter to confirm without modification).
-
-
Post-installation verification: After successful installation, the console will output panel access information in the following format:
==========================================================================1Panel Installation Successful!==========================================================================Access Address: http://[Velidc Server IP]:[Custom Port]/[Security Entry Path]Username: [Set Administrator Account]Password: [Set Administrator Password]==========================================================================If you forget the access information, query it using the following command:1pctl user-info
2.2 Offline Installation (Applicable for Velidc Intranet Servers)
If the Velidc server cannot access the public network, install via the offline package as follows:
-
Download the offline package: Visit the official 1Panel download page (https://1panel.cn/docs/installation/package_installation/), and download the corresponding offline package based on the Velidc server's architecture (x86_64/aarch64).
-
Upload the offline package to the Velidc server: Use SCP or FTP tools to upload the offline package to the /tmp directory of the server.
-
Extract and install:
# Enter the upload directorycd /tmp# Extract the offline package (replace with the actual downloaded package name)tar zxvf 1panel-v1.10.0-lts-linux-amd64.tar.gz# Enter the extracted directory (replace with the actual extracted directory name)cd 1panel-v1.10.0-lts-linux-amd64# Execute the installation script/bin/bash install.sh -
Subsequent configuration is the same as online installation; set the port, account, and password as prompted.
2.3 Docker Dependency Repair (Common Issue on Velidc)
If Docker dependency installation fails during the process, execute the following script to repair (adapted for Velidc servers):
bash <(curl -sSL https://linuxmirrors.cn/docker.sh)
III. 1Panel Initial Configuration (Velidc Server Optimization)
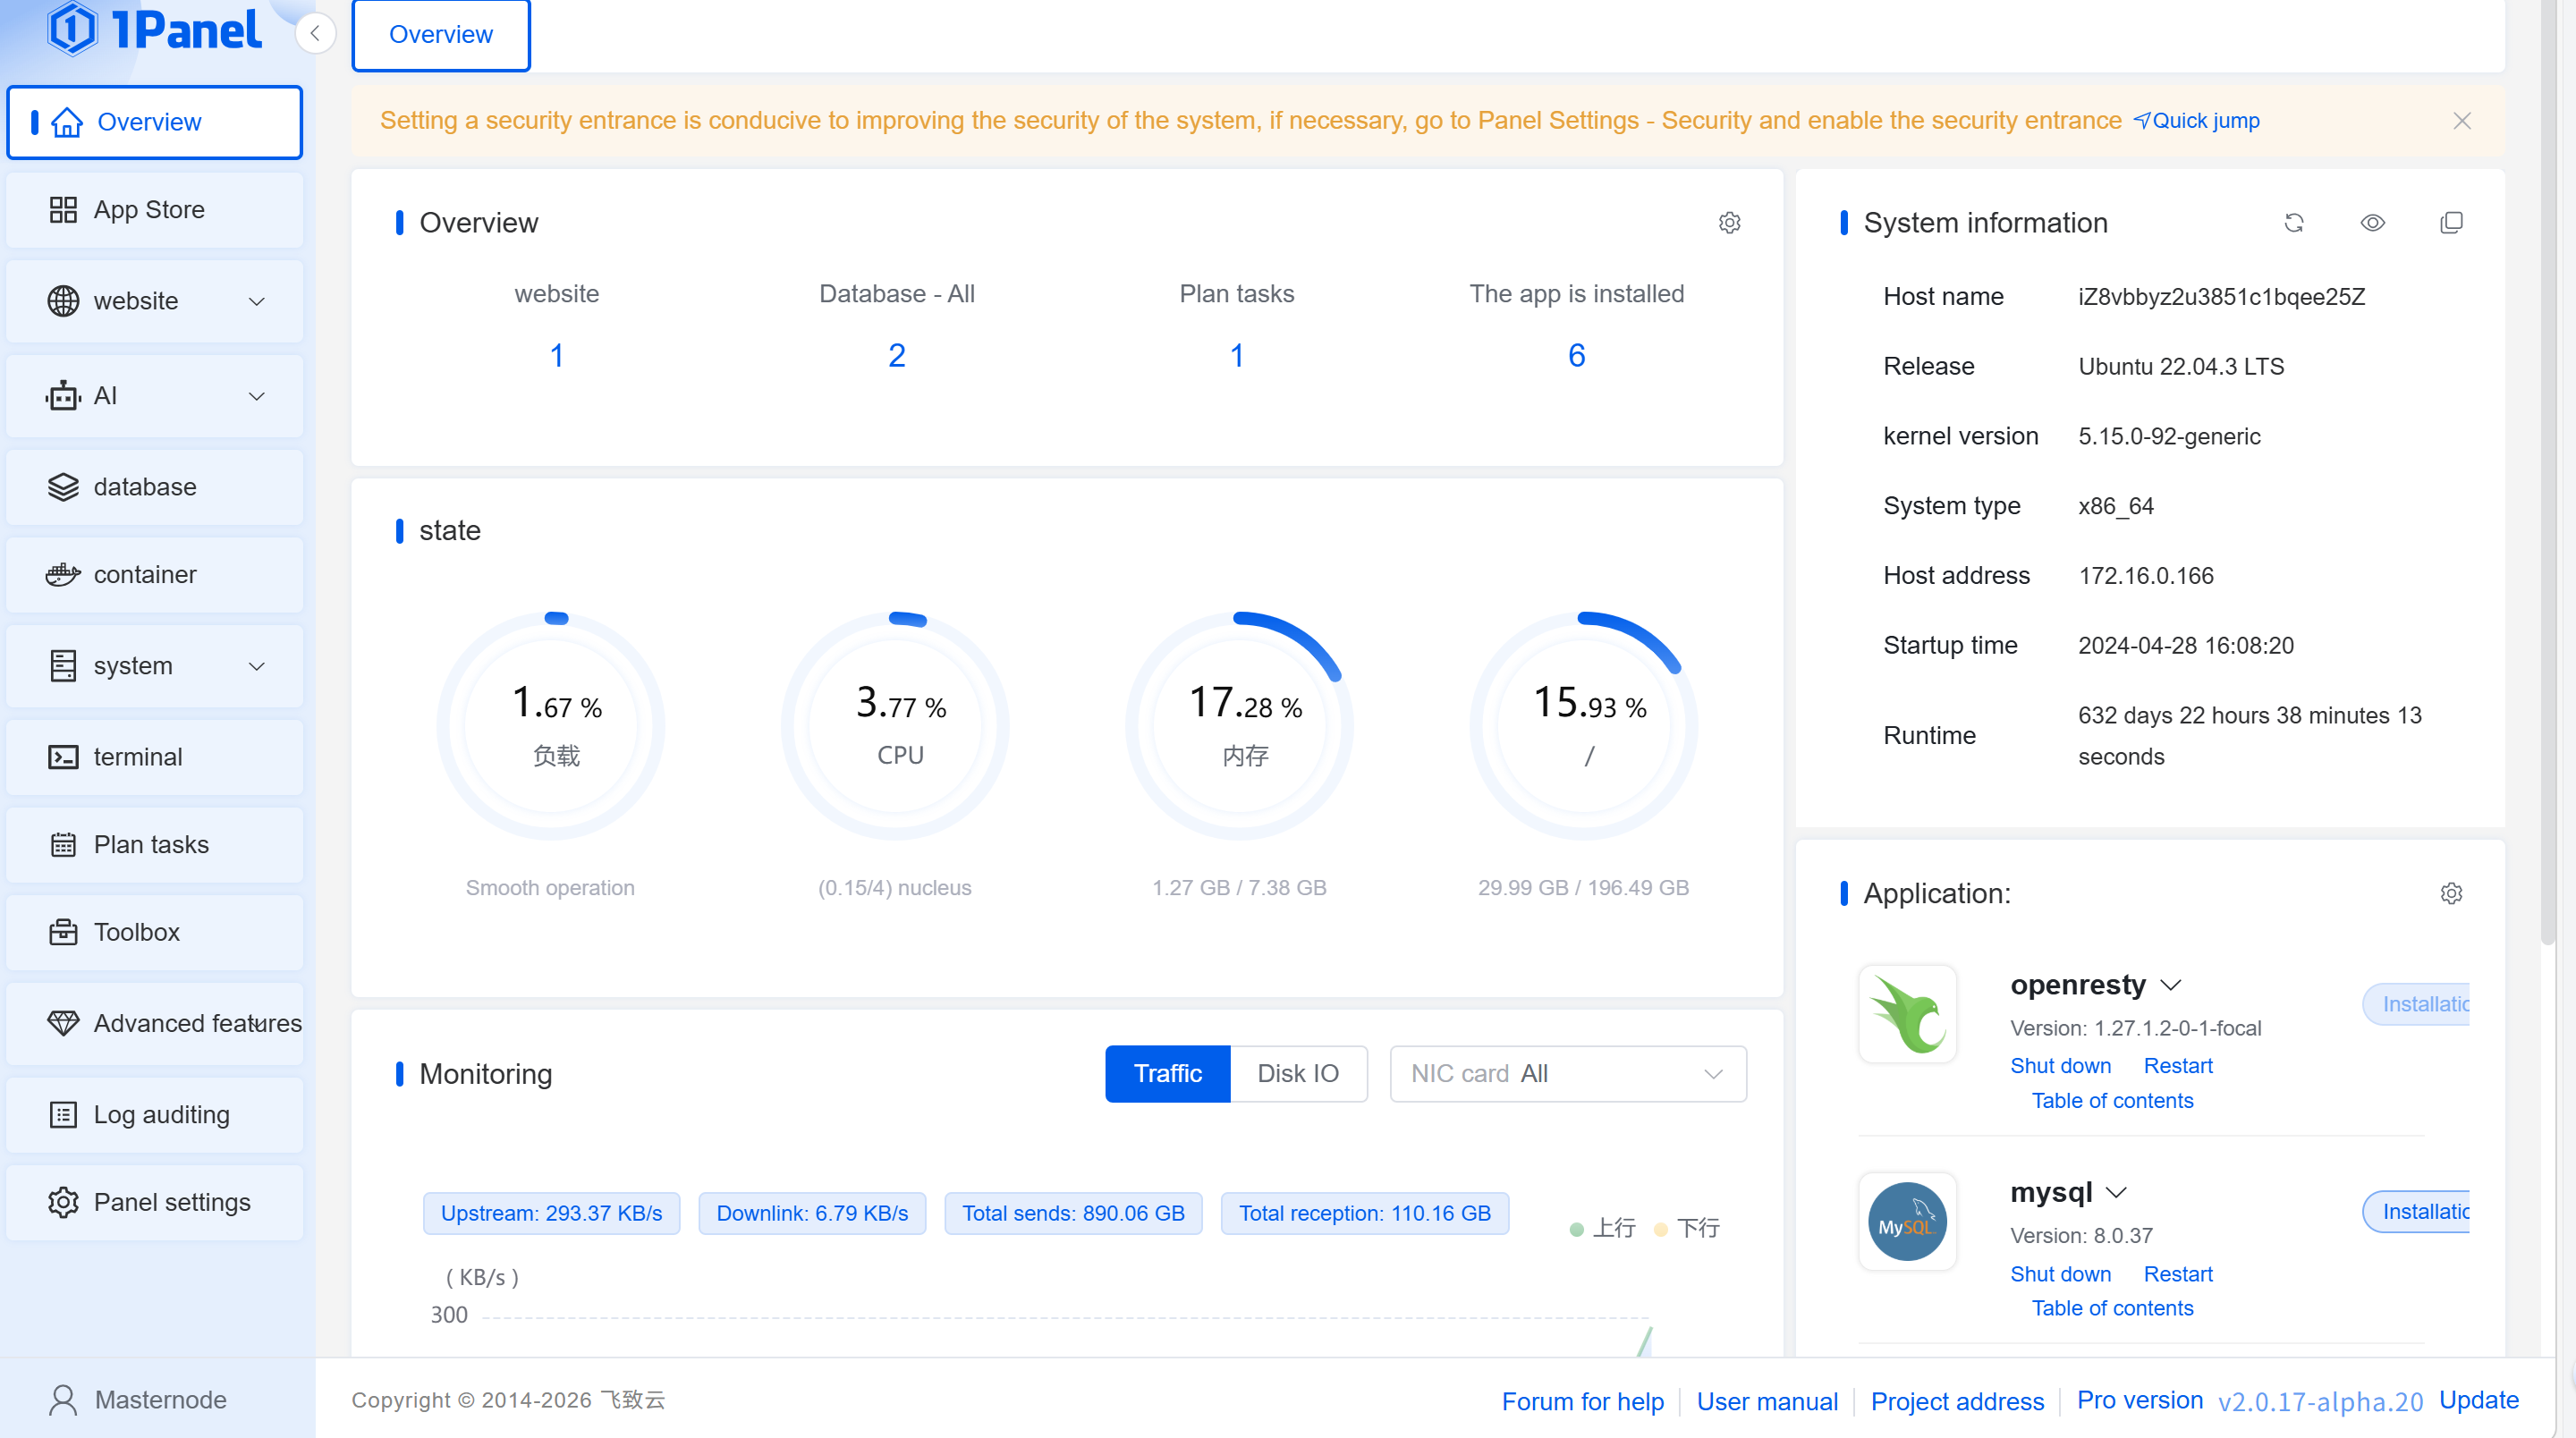
3.1 Panel Login
-
Open a browser and enter the access address prompted after installation (http://Velidc Server IP:Port/Security Entry Path).
-
Enter the set administrator account and password to log in to the 1Panel panel.
3.2 Core Configuration Optimization
-
Security Settings: Go to 「System Settings - Security」, enable Two-Factor Authentication (2FA), restrict login IPs (only allow trusted IPs), and change the administrator password regularly to enhance the operation and maintenance security of the Velidc server.
-
Update Source Configuration: Go to 「System Settings - Update Source」. For Velidc domestic nodes, select domestic sources (such as Alibaba Cloud, Huawei Cloud); for overseas nodes, use the default source to accelerate application installation and updates.
-
Firewall Configuration: In the 1Panel panel 「Security - Firewall」, only open necessary ports (such as 80, 443, panel port), close unused ports, and replace the system firewall for more convenient management.
-
Monitoring Settings: Enable 「Monitoring - System Monitoring」, set resource alarm thresholds (e.g., alarm when CPU usage ≥ 80% or memory usage ≥ 90%), and keep real-time track of the Velidc server's running status.
3.3 First Application Deployment Example (WordPress)
Take deploying WordPress as an example to demonstrate 1Panel's application management capabilities on Velidc servers:
-
Log in to the 1Panel panel, click 「App Store」 on the left, and search for 「WordPress」.
-
Click 「Install」 and configure application parameters: set the application name, bind the resolved domain name of the Velidc server, select the database type (built-in MySQL is sufficient), and set the WordPress administrator account and password.
-
Click 「Deploy」. 1Panel automatically completes environment configuration, software installation, and domain binding without manual command input, enabling deployment within 5 minutes.
IV. Common 1Panel Commands for Velidc Servers
Quickly manage the 1Panel service via the command line, adapted for daily operation and maintenance of Velidc servers:
# Check 1Panel status systemctl status 1panel # Start/Stop/Restart 1Panel systemctl start 1panel systemctl stop 1panel systemctl restart 1panel # View 1Panel login information (for forgotten account, password, or access path) 1pctl user-info # Uninstall 1Panel 1pctl uninstall
V. Common Troubleshooting (Velidc Server-Specific)
5.1 Panel Unreachable
-
Check if the panel port is open in the Velidc server's security group and ensure the port is not occupied:
netstat -tuln | grep [Panel Port]. -
Confirm that the 1Panel service is running normally:
systemctl status 1panel, restart the service if abnormal. -
Verify the access path is correct; retrieve the security entry path again via
1pctl user-info.
5.2 Application Installation Failure
This is mostly due to network issues or missing dependencies. For Velidc domestic nodes, switch to domestic update sources; for overseas nodes, check public network connectivity. If dependencies are missing, install them with
apt install -y wget curl docker.io (Debian series) or yum install -y wget curl docker (RedHat series).5.3 Forgot Administrator Password
Reset via the command line: Log in to the Velidc server and execute
1pctl reset-password, then set a new password as prompted.

